
What Can You Do with DIY AC Cleaning? The Boundaries Between Filters, Exterior Surfaces and Internal Work
Contents
Home DIY is limited to filters and external surfaces allowed by the manufacturer and safely accessible, and does not include the interior or drainage pipe. If there is water leakage, icing, abnormal noise or unusual odour, arrange an inspection first; do not dismantle the unit yourself following a full-unit cleaning guide.
1. Safety first
Before cleaning the air conditioner, remember to switch off the power and unplug it to prevent electric shock during cleaning.
2. Remove the AC dust filter
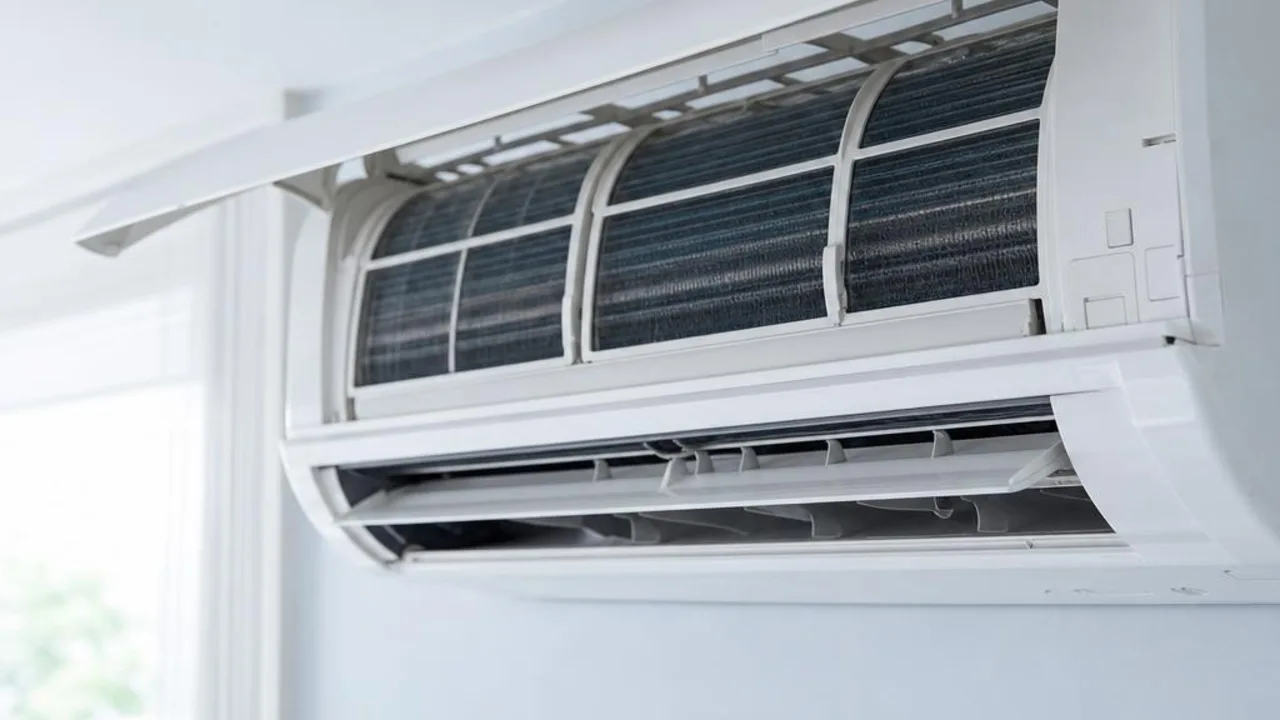
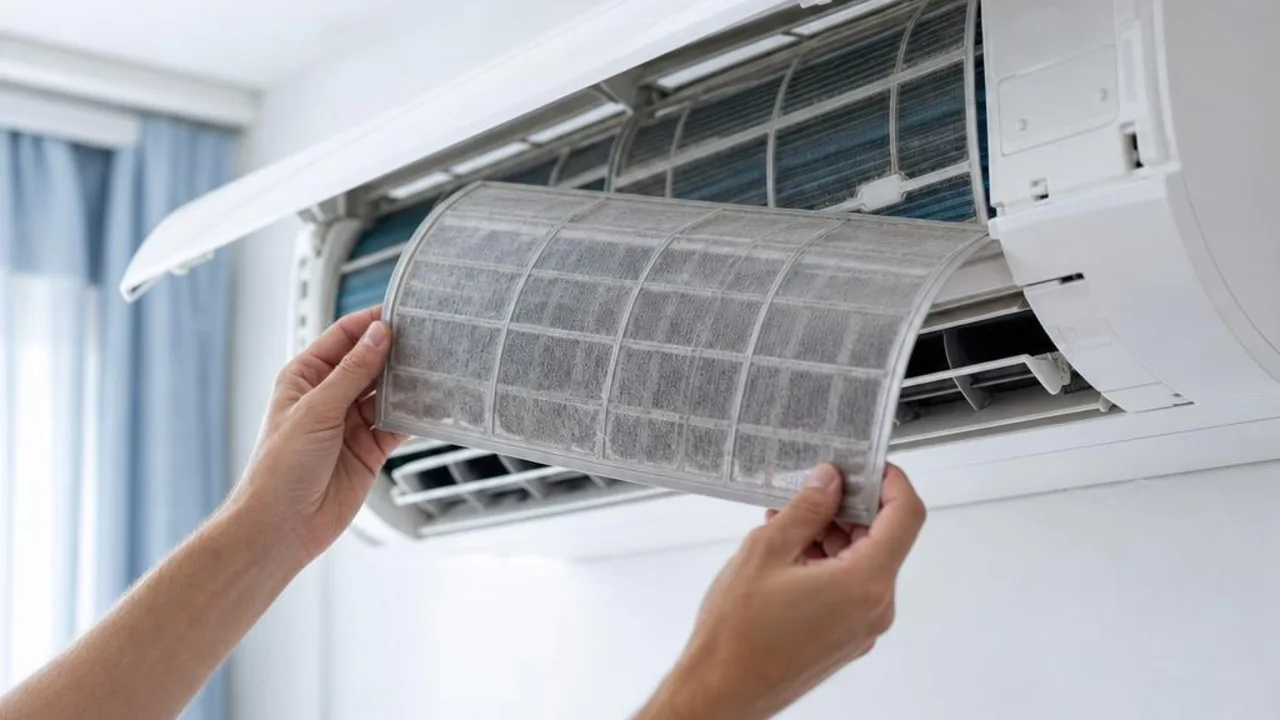
Open the front cover of the air conditioner and remove the dust filter. The dust filter is the part that collects dust most easily and is also one of the main factors affecting AC performance. Regular cleaning of the dust filter is very important to maintain the unit's efficiency.
3. Clean the dust filter
First confirm the filter can be washed with water, then clean it in the method allowed by the manufacturer, and reinstall only after it is completely dry; do not apply soapy water and brushing methods to all filter media.
4. Clean the inside of the air conditioner
This article’s DIY scope for residents only covers factory-allowed filters and other safely reachable exterior parts. It does not include removing the drain pipe, blower wheel, condenser, circuit board or refrigerant system. Internal dirt and abnormal drainage should be handled by service staff; do not just add a note to be careful and follow it by dismantling and cleaning by yourself.
5. Clean the outside of the air conditioner
Wipe the AC casing clean with a soft cloth. For stubborn stains, use a slightly damp cloth to gently wipe them off, but be careful not to let water enter the inside of the unit.
6. Drainage issues will be handled by the service staff
Residents should not remove pipes, insert tools or pour water or chemicals into the pipes. Record the location and time of the leakage, and arrange for staff to distinguish between blockage, connection, slope and other causes.
7. Reinstall the dust filter and front cover
After the dust filter has dried, reinstall it into the air conditioner and close the front cover. Make sure the dust filter and front cover are firmly installed to avoid affecting normal operation.
8. Reconnect the power
After cleaning, plug the air conditioner back into the socket and reconnect the power. Turn on the air conditioner and check whether it is operating normally.
The above concerns only routine maintenance and is not a full-machine cleaning procedure. Depending on the manual, usage and dust buildup, it should not be dismantled and cleaned every two to three months, and it does not guarantee energy savings or a longer lifespan.
Find professional help
For internal cleaning, first confirm the scope, protection, wastewater and restoration inspection, and disclose any existing faults first; professional service does not mean unconditional protection against damage or that the new unit's performance is guaranteed.
Maintain the filter and exterior according to the manual, and leave internal dirt or abnormalities to service personnel for assessment. Do not dismantle and wash it yourself just to save money.
Related reading and services
Want to arrange AC cleaning or maintenance?
OPOExpert Air Conditioning provides residential and commercial AC cleaning and maintenance with clear pricing. Enquiry first or book online directly