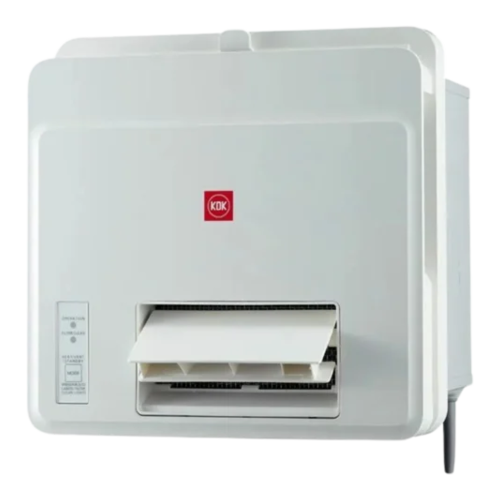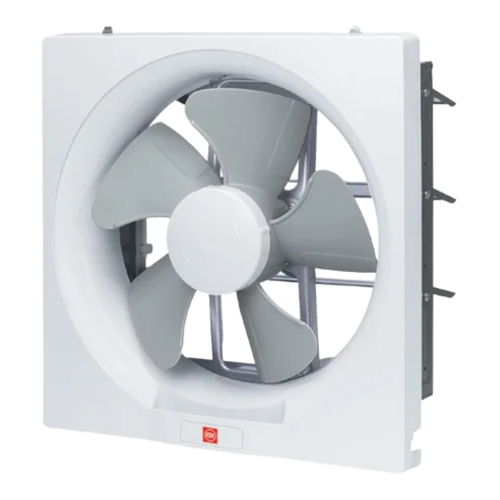
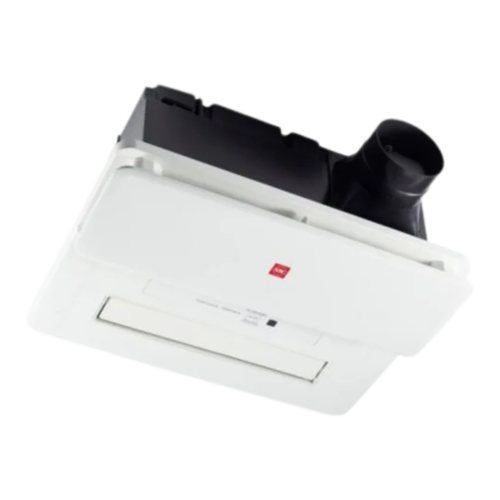
Ceiling-mounted bathroom heater
Remove dust from the heating elements and dust filter mesh, and dismantle and wash the casing and blower wheel.
Actual cleaning scope
First protect the bathroom and cut off power. Remove dust from the heating element and dust filter, and dismantle and wash the casing and drum that are suitable for water cleaning; reassemble and test after drying.
Preparation before enquiry
Take a photo of the bathroom heater panel, model label and surrounding area, and state the ceiling height; no need to remove the panel or climb up to take the photo yourself.
Scope and Notes
- The actual dismantling scope will be assessed according to the model and equipment condition; customers do not need to remove the bathroom heater themselves.
Cleaning process · 8 steps
Check suitability:Make sure the bathroom heater is suitable for cleaning.
Protect the site:Use waterproof protective materials to protect the bathroom area.
Switch off the power and remove the parts:The technician cuts off the power and removes the relevant parts.
Remove dust:Use tools to remove dust from the heating element and dust filter.
Clean the unit casing and fan barrel:Use a dedicated cleaner and a high-pressure water spray to clean water-washable casings and squirrel cages, while protecting electronic and heating parts.
Dry and wipe:Blow dry and wipe each component dry.
Assembly and testing:Reassemble the parts and test the bathroom heater.
Clean up the site:Clean and tidy the bathroom work area.
Does cleaning a ceiling-mounted bathroom heater include repairs for heating element or motor faults?
Not included. Cleaning mainly deals with dust buildup and removable washable parts, and it is not the same as repairing heating or motor faults. If there is no warm air, unusual noise, or a tripped breaker, explain the situation first and confirm whether the unit is suitable for cleaning; do not dismantle it yourself.